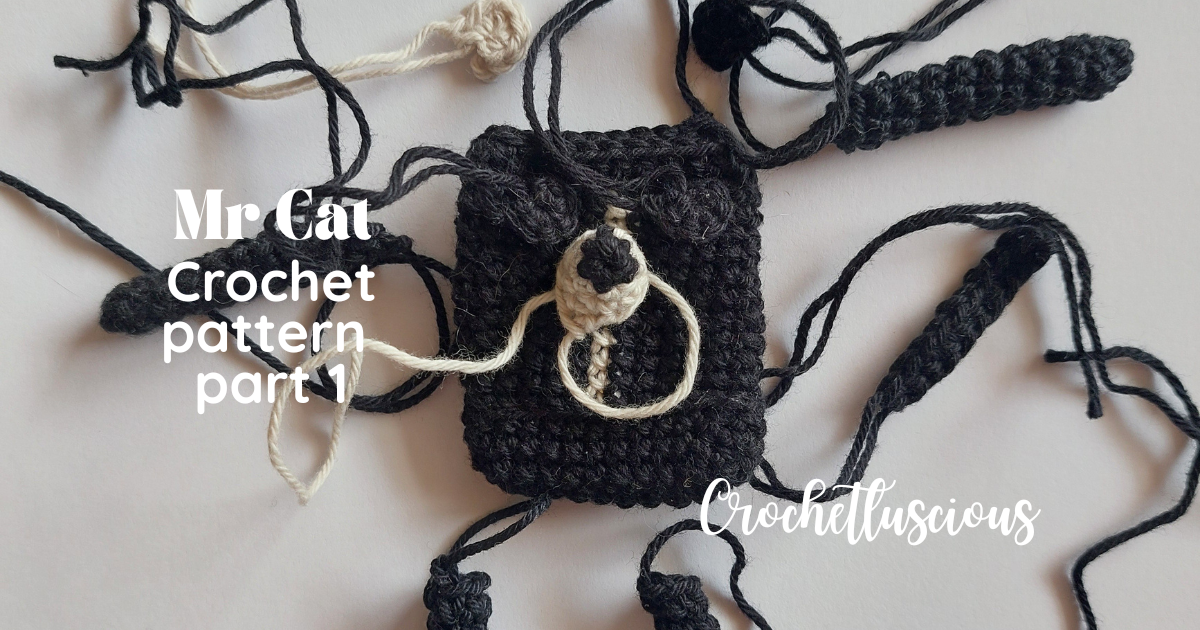
In this post, we are going to create most of the necessary parts for making Mr Cat – a crochet amigurumi. In the next part, we will assemble the body and crochet the trousers. Then we will add the cape, the bag and the hat.
The body of Mr Cat is „flat”. We start with a chain, so it’s more of a 2D crochet amigurumi.
Materials
- yarn
- black and white/light grey for the body
- blue and purple for the cape
- blue for the bag and the scarf
- orange for the trousers
- blue and orange for the hat
- crochet hook (2.5mm);
- stitch marker;
- stuffing/yarn scraps;
- scissors;
- two small beads or the smallest safety eyes you have;
- embroidery needle + thin needle for the beads (if you’re going with the beads and not the safety eyes);
Stitches
sc – single crochet
hdc – half-double crocher
inc – increase
dec – decrease
BLO – black loop only; FLO – front loop only
sl st – slip stitch
ch – chain
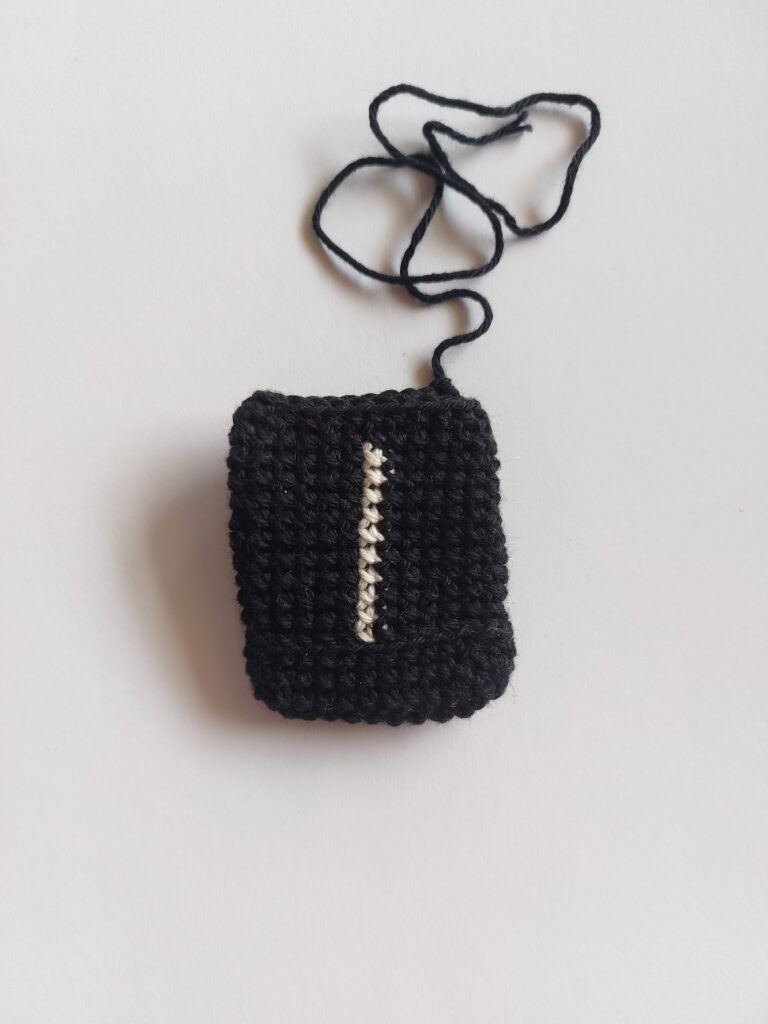
Body
chain 12
1. inc, 9sc, inc, inc, 9sc, inc [26]
2-4. 26sc
5. 26sc BLO
6-14. BLACK 6sc, WHITE 1sc, BLACK 19 sc [9 rounds, 26sc each round]
15. 26sc
16. dec, 9sc, dec, dec, 9sc, dec [22]
A few things to keep in mind!
When crocheting the first part of round 1, it’s best to turn the chain and crochet into the back bumps of the chain – this will create a sturdy and even first round.
Remember that the colour change happens in the last stitch of the first colour – so in the 6th BLACK stitch. Crochet as usual but use the white yarn to close the stitch. Similarly, close the white stitch with the black yarn.
Do not stuff or stitch the last round just yet! Crochet the other parts first, assemble and then stuff & stitch!
Legs
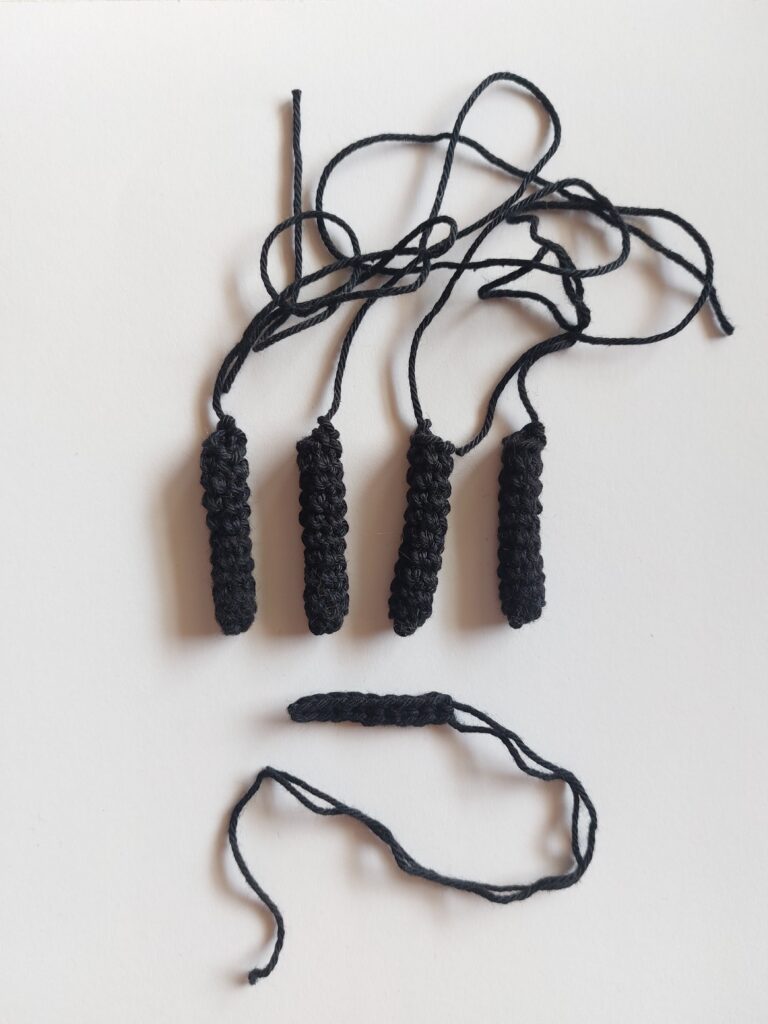
Make 4
1.mg, 6sc
2-10. 6sc [9 rounds]
Leave long threads for sewing.
Tail
chain 10
1.9sc
It’s best to crochet in the back of the chain, that will give us a clean edge. Leave long threads for sewing.
Nose
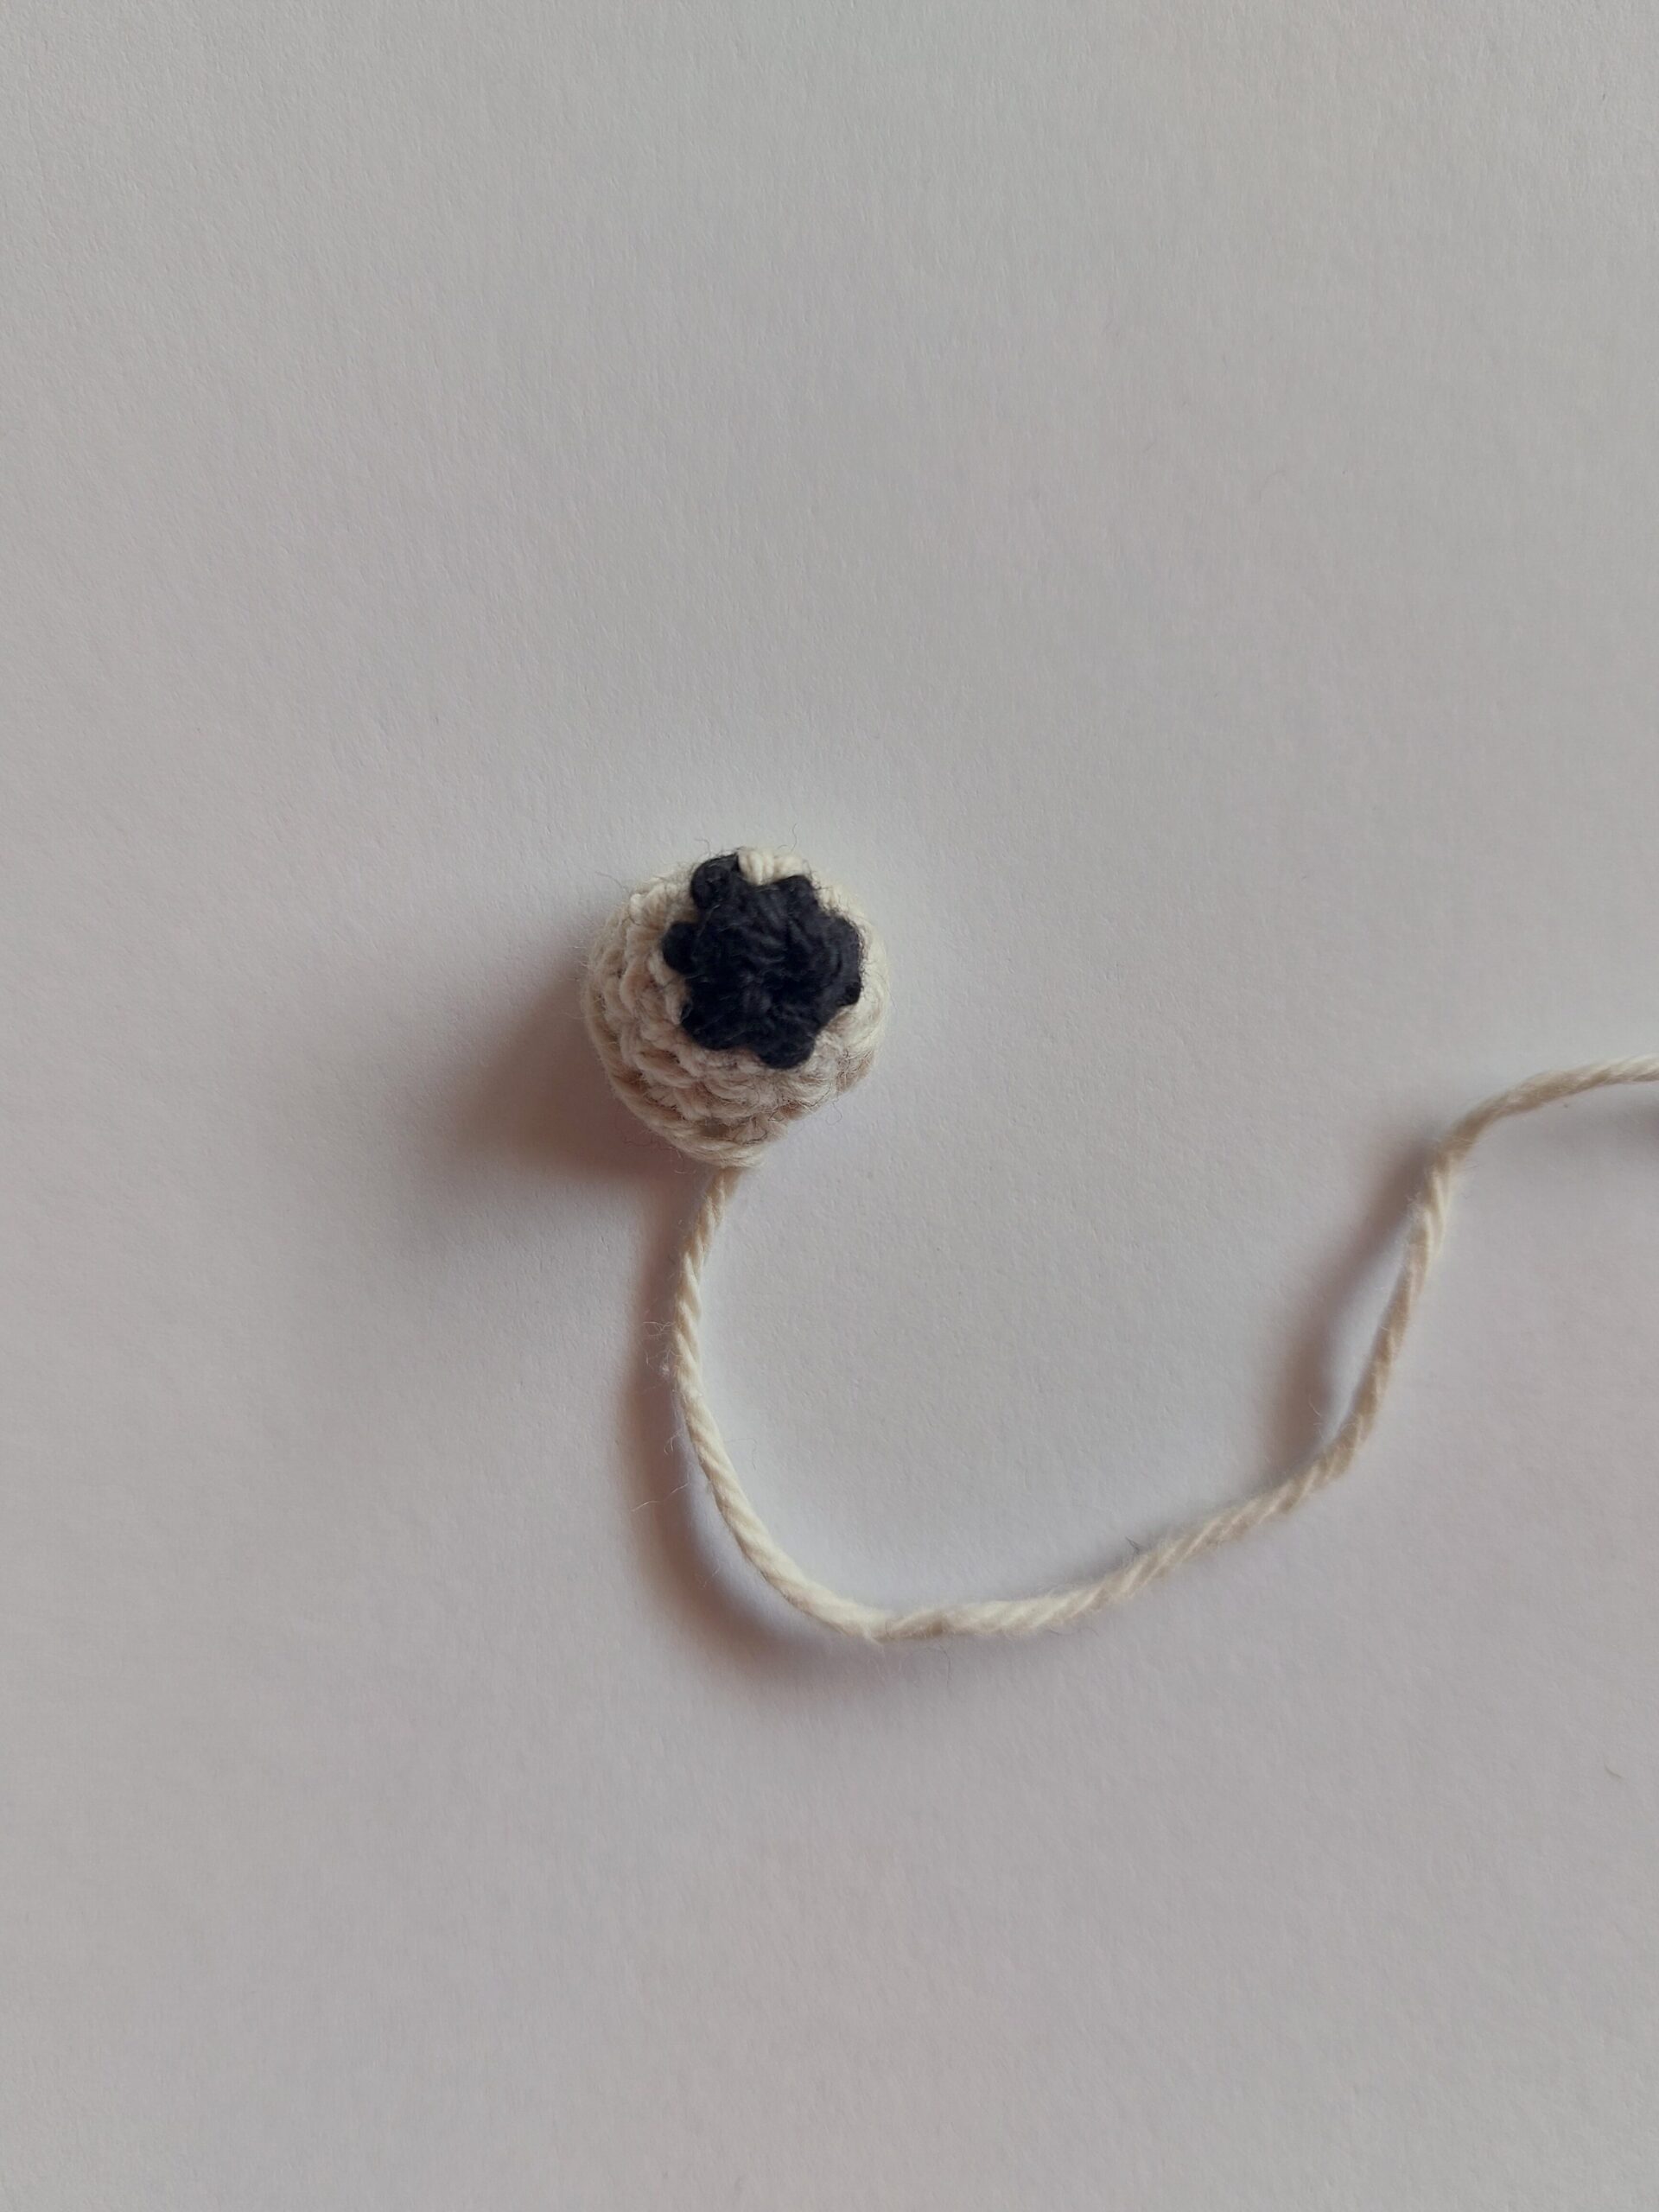
In black
1.mg, 6sc
In white
2.6sc
3.(sc,inc) x 3 [9]
4.9sc
Leave long threads for sewing.
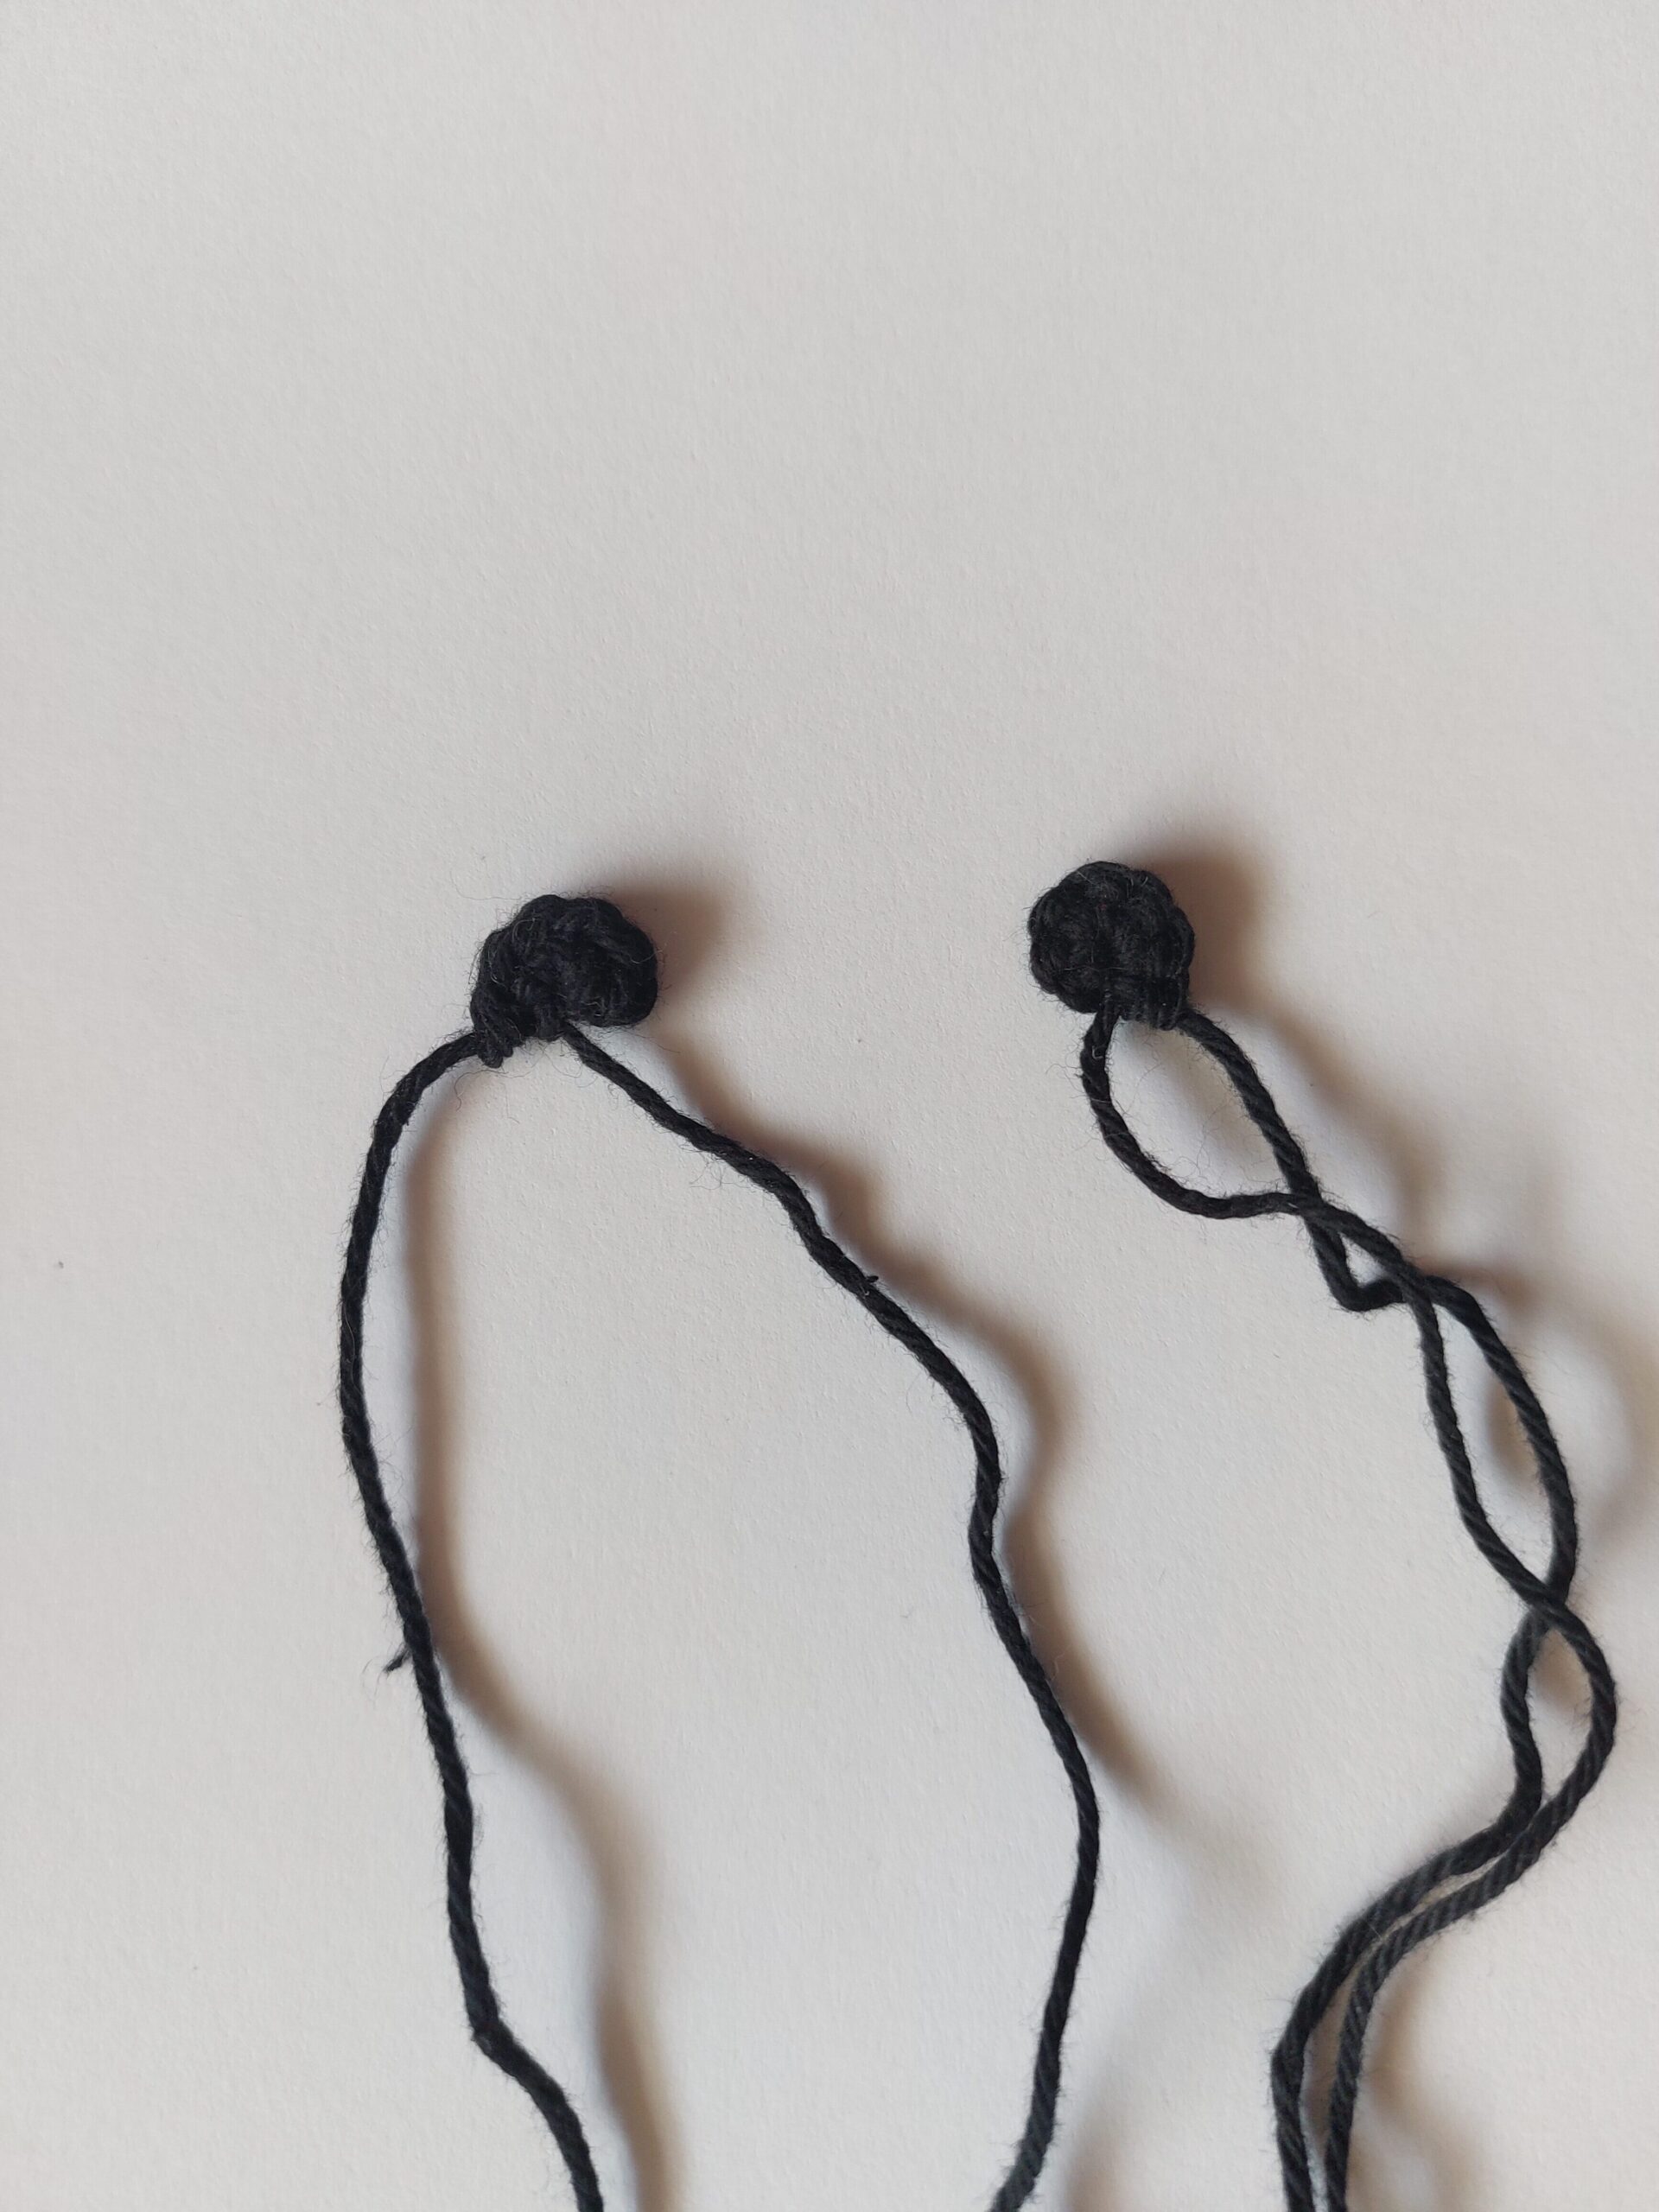
Eyelids
Make 2
1.mg, 6sc
Tighten the yarn, leave longer yarn ends – it will be easier to stitch them to the body.
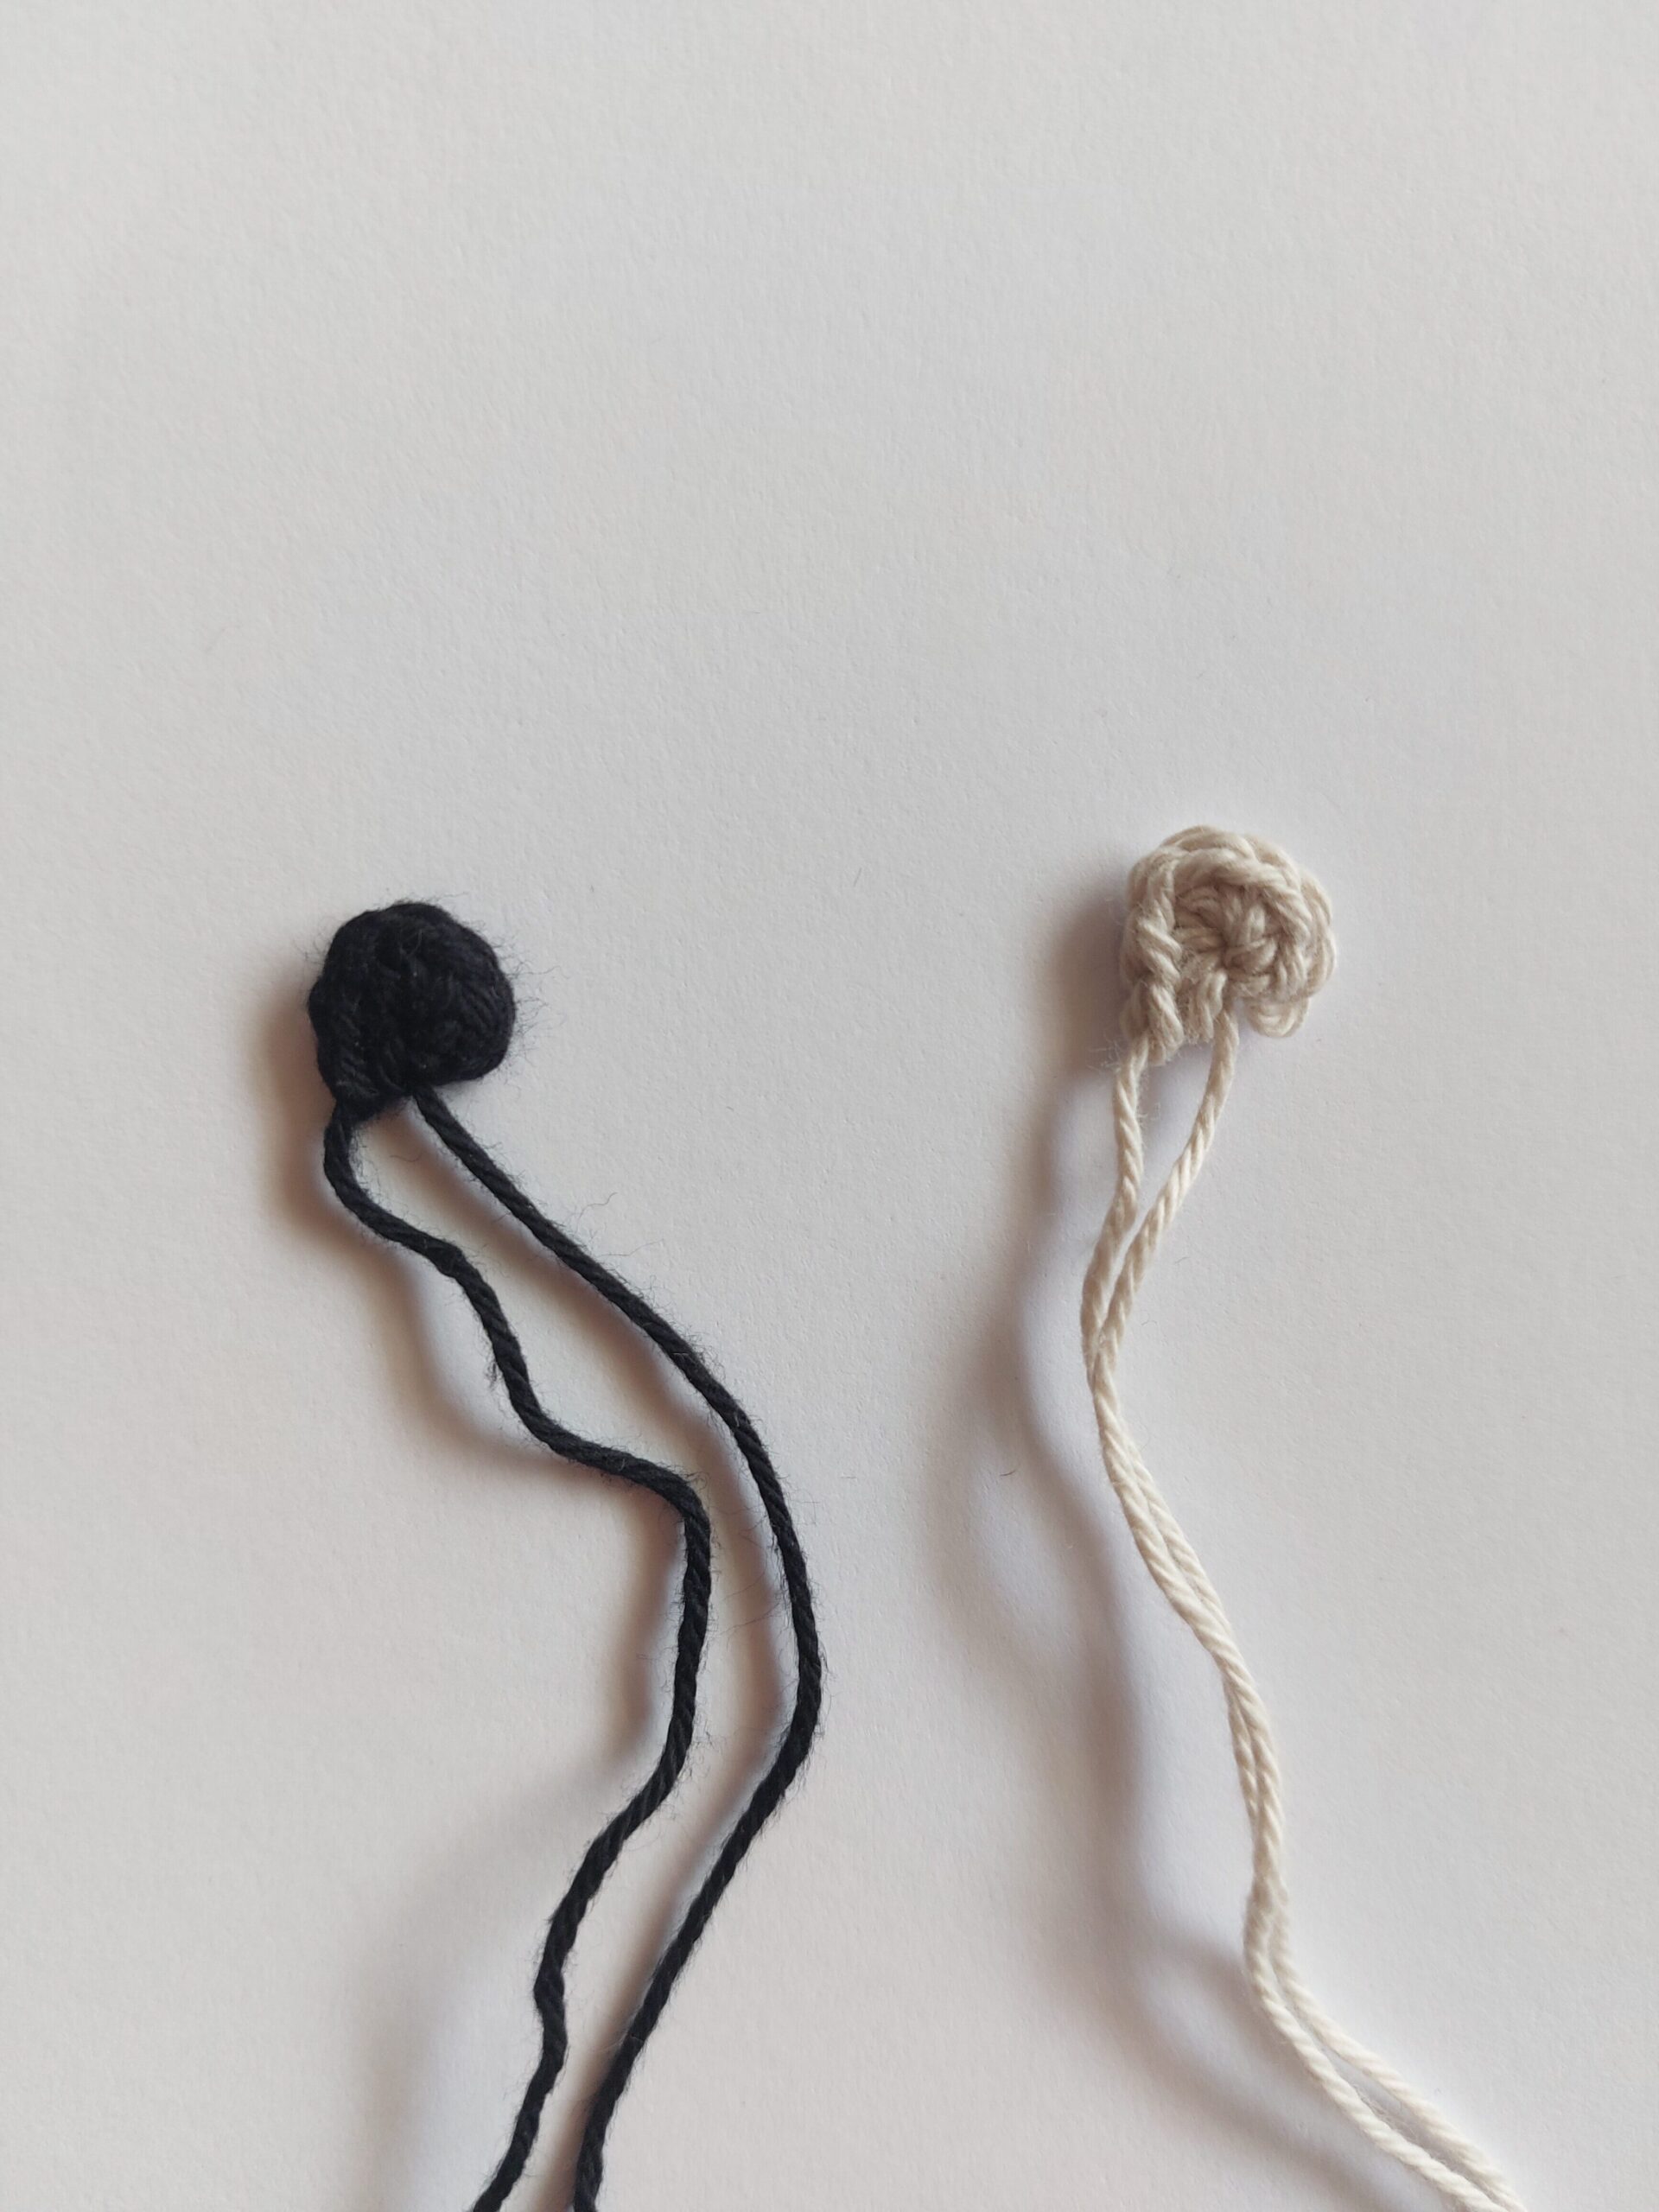
Ears
Make 2, I did one in black and one in white
1.mg, 3sc, 1 hdc, 3sc
Tighten the yarn, leave longer yarn ends – it will be easier to stitch them to the body.
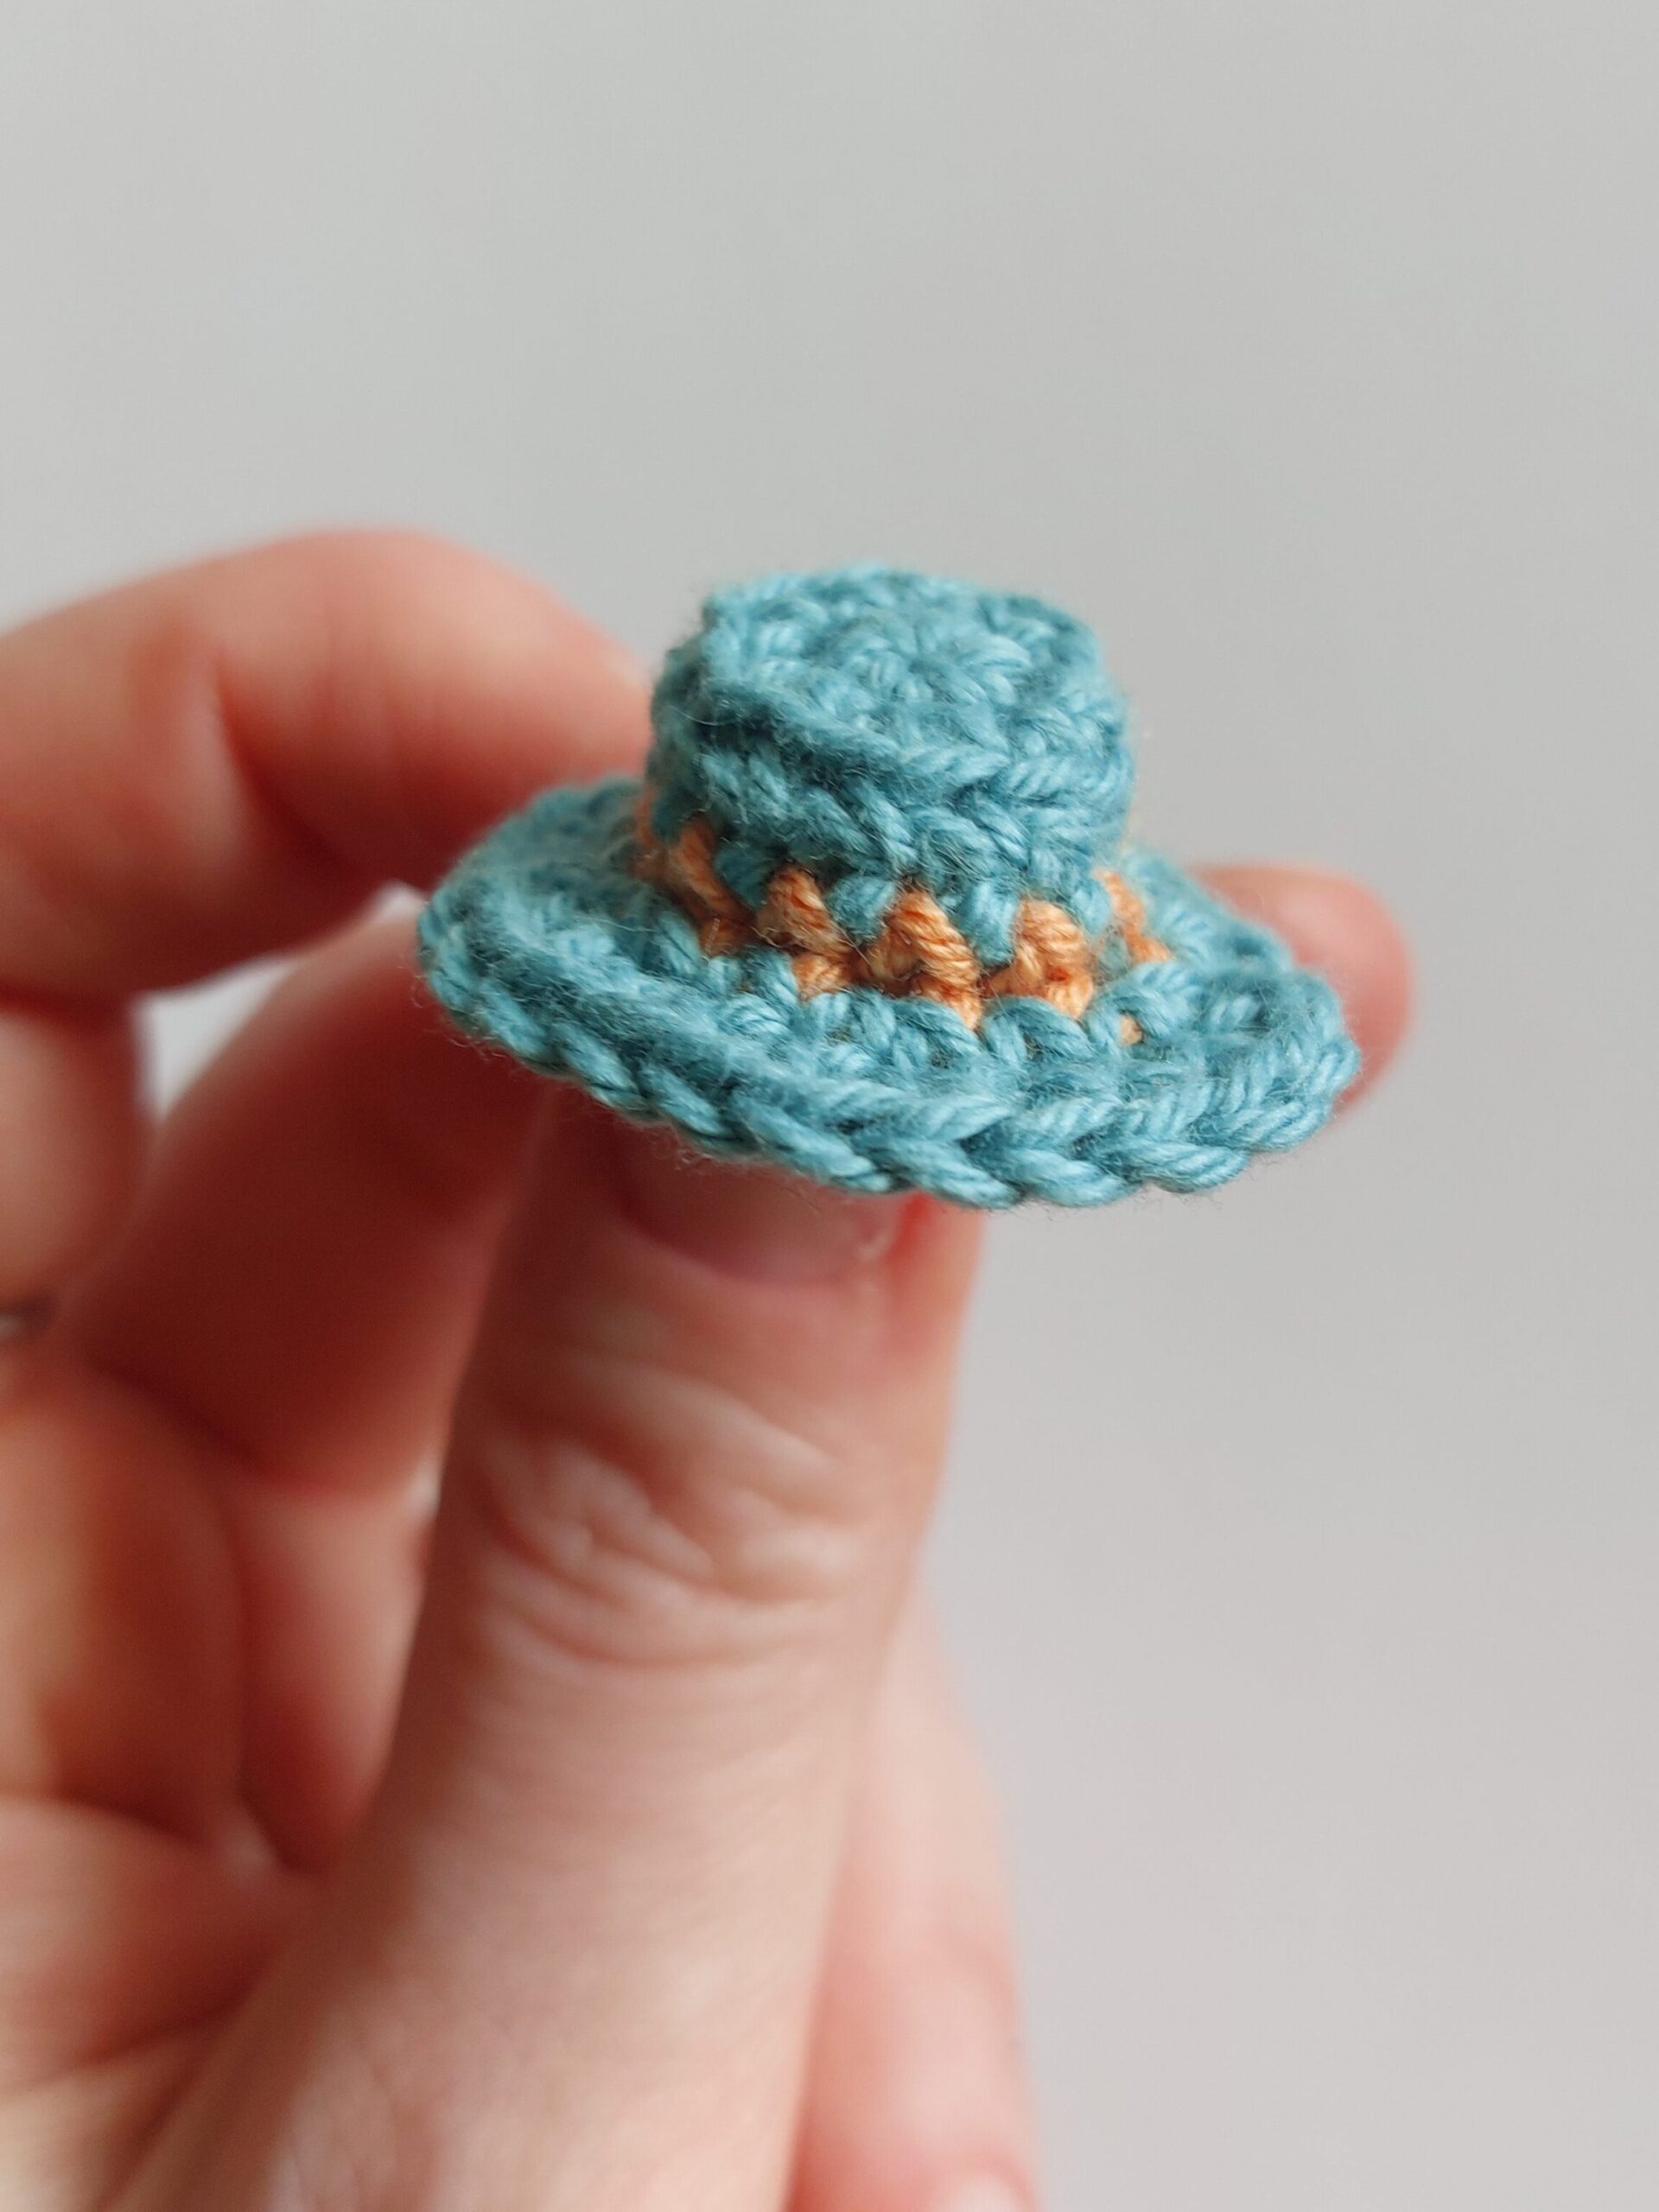
Hat
Make it in blue, except for the round 4. Leave a longer yarn end when you start the magic ring – we will use the central yarn to attach the hat to the body.
1.mg, 6sc
2.6inc
3.BLO 12sc
4.12sc ORANGE
5.(sc,inc)x6 FLO
6.(2sc, inc)x6
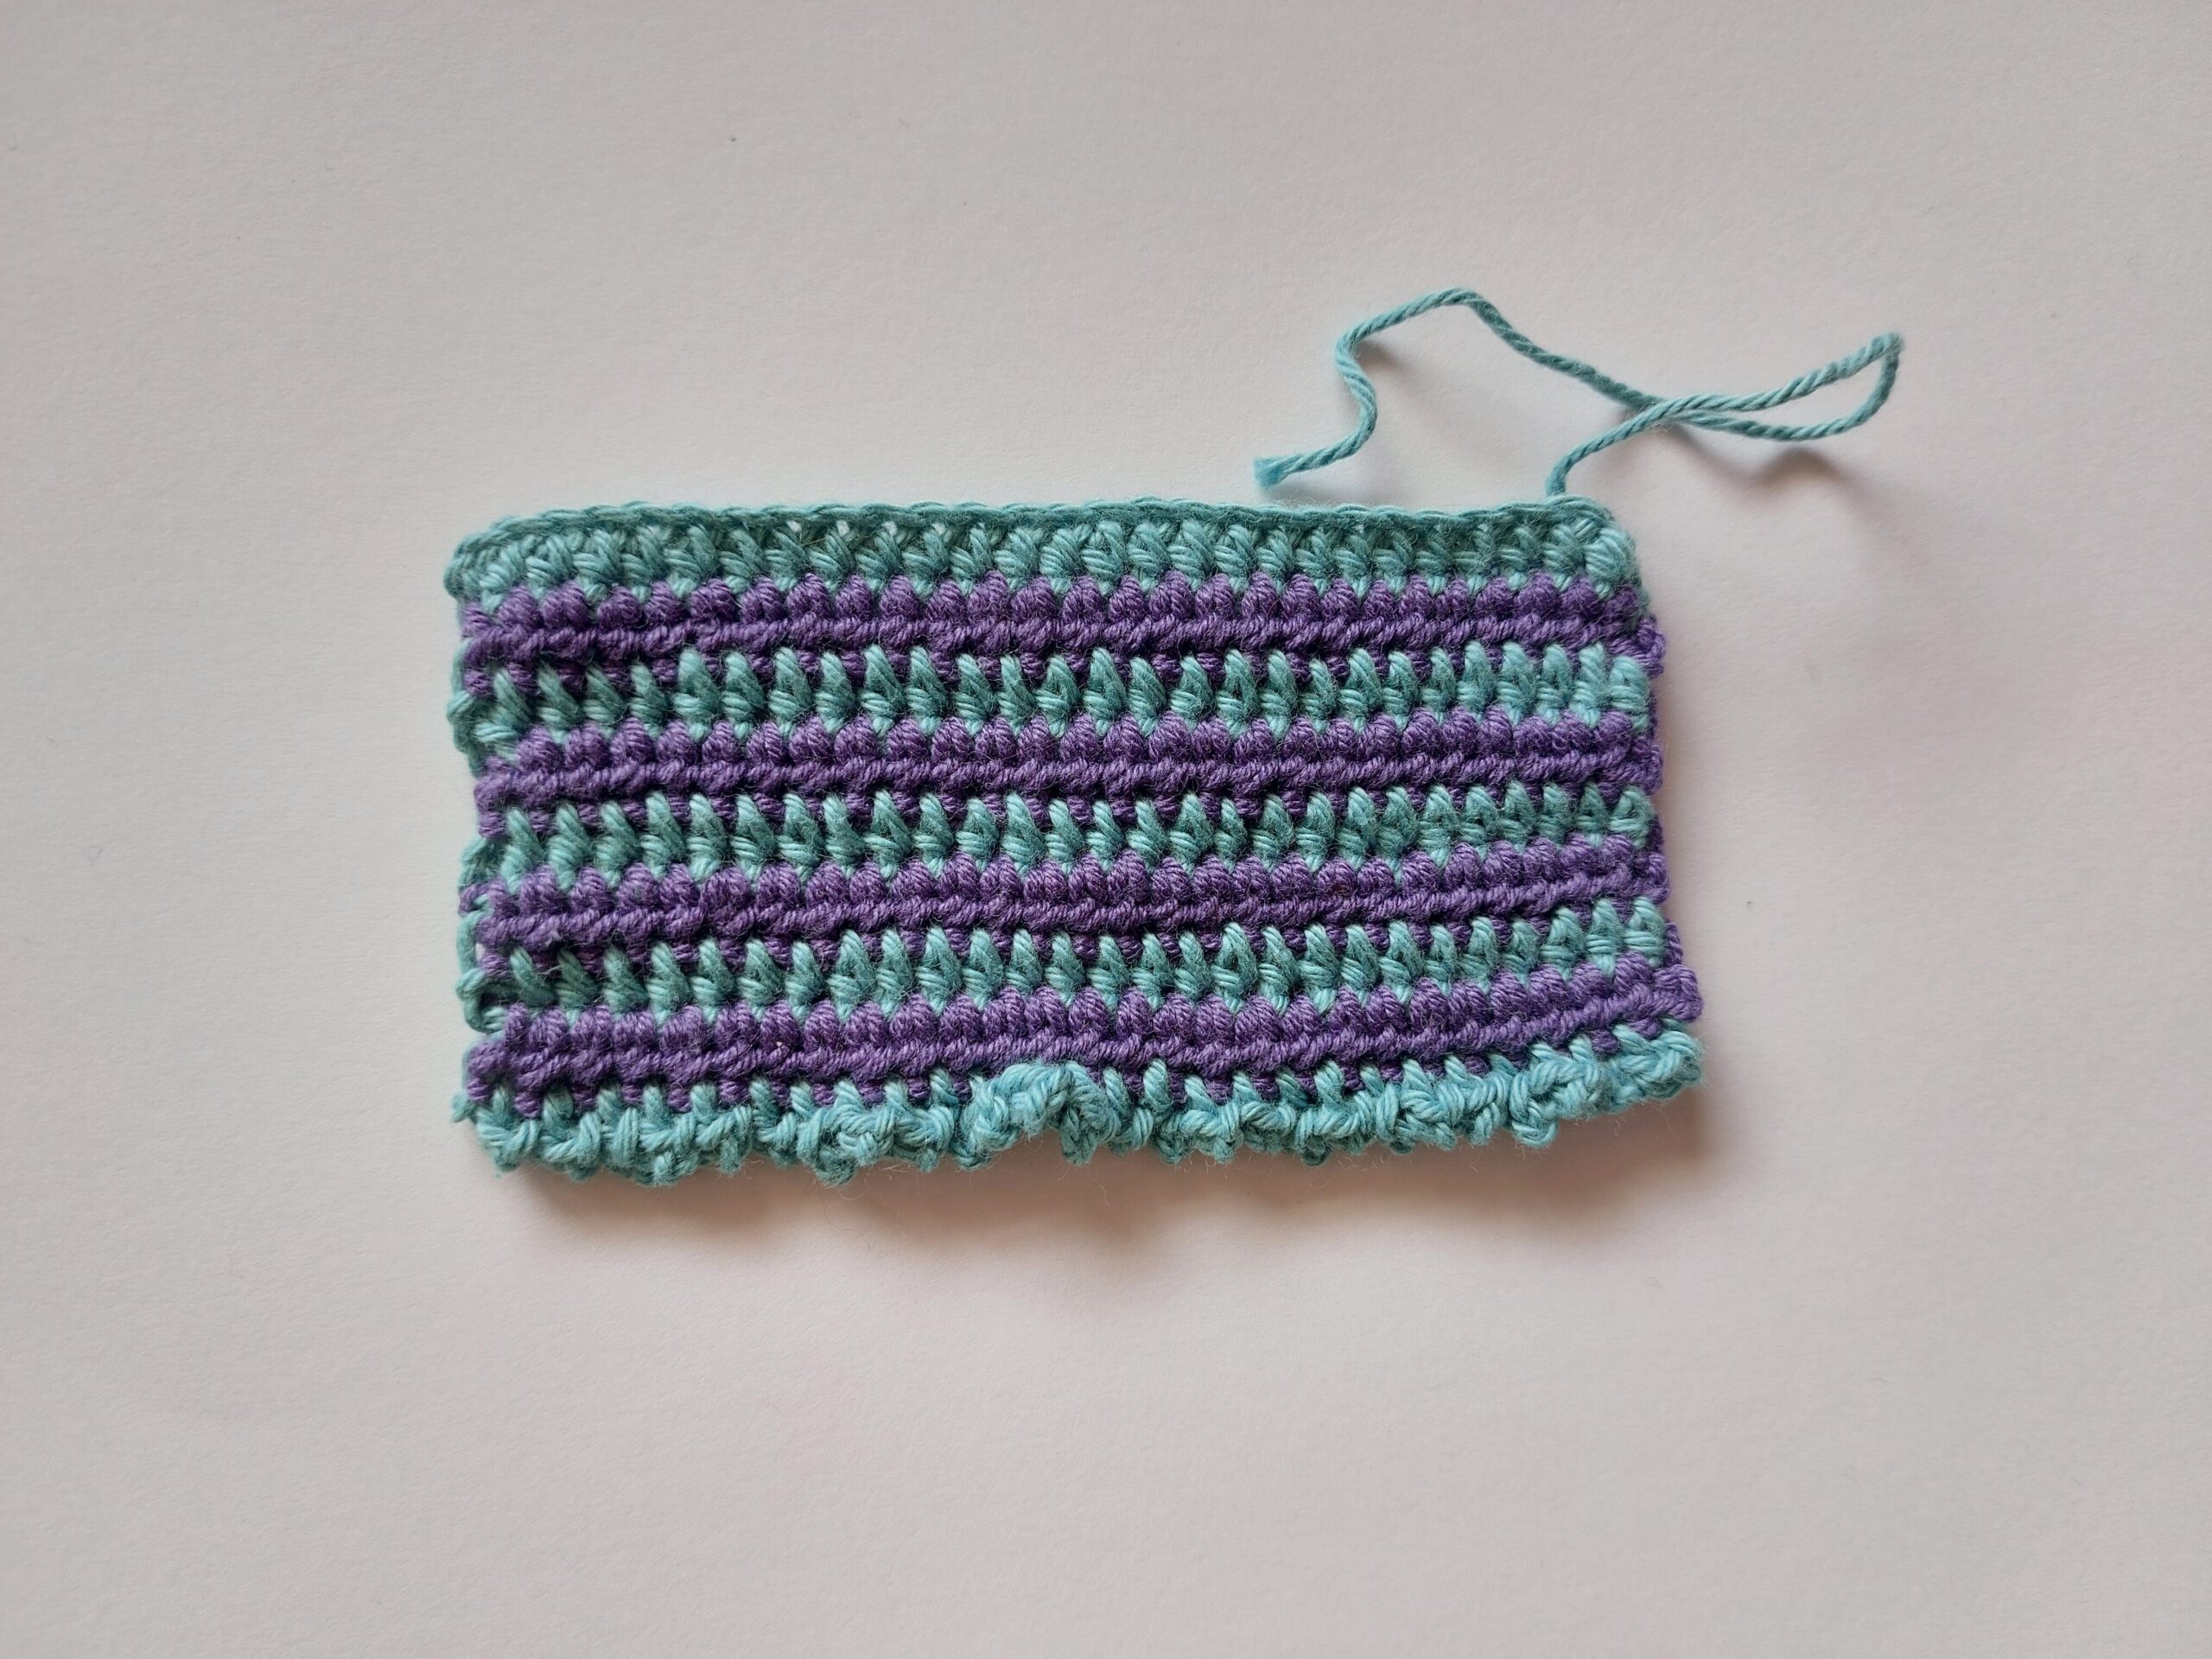
Cape
Chain 29
Start crocheting into the 3 stitch of the chain.
1-8. 27 hdc then colour change and chain 2, turn your work,
9. (sc, chain 2) x 26, sc (round 9 is optional)
Colour change:
- in the last stitch of the round.
Chain two (already in the new colour) and crochet another round. Repeat after each round. If you want to avoid loose yarn ends that you have to weave in once you’re done, hide the other colour yarn inside your half-double crochets. Advised to keep hiding the yarn on the left side of the cloak.
Alternate the colours between blue and purple.
Once the cloak is completed, weave in all the yarn ends. Then weave in a new, long one through the top of the first round. Tighten.
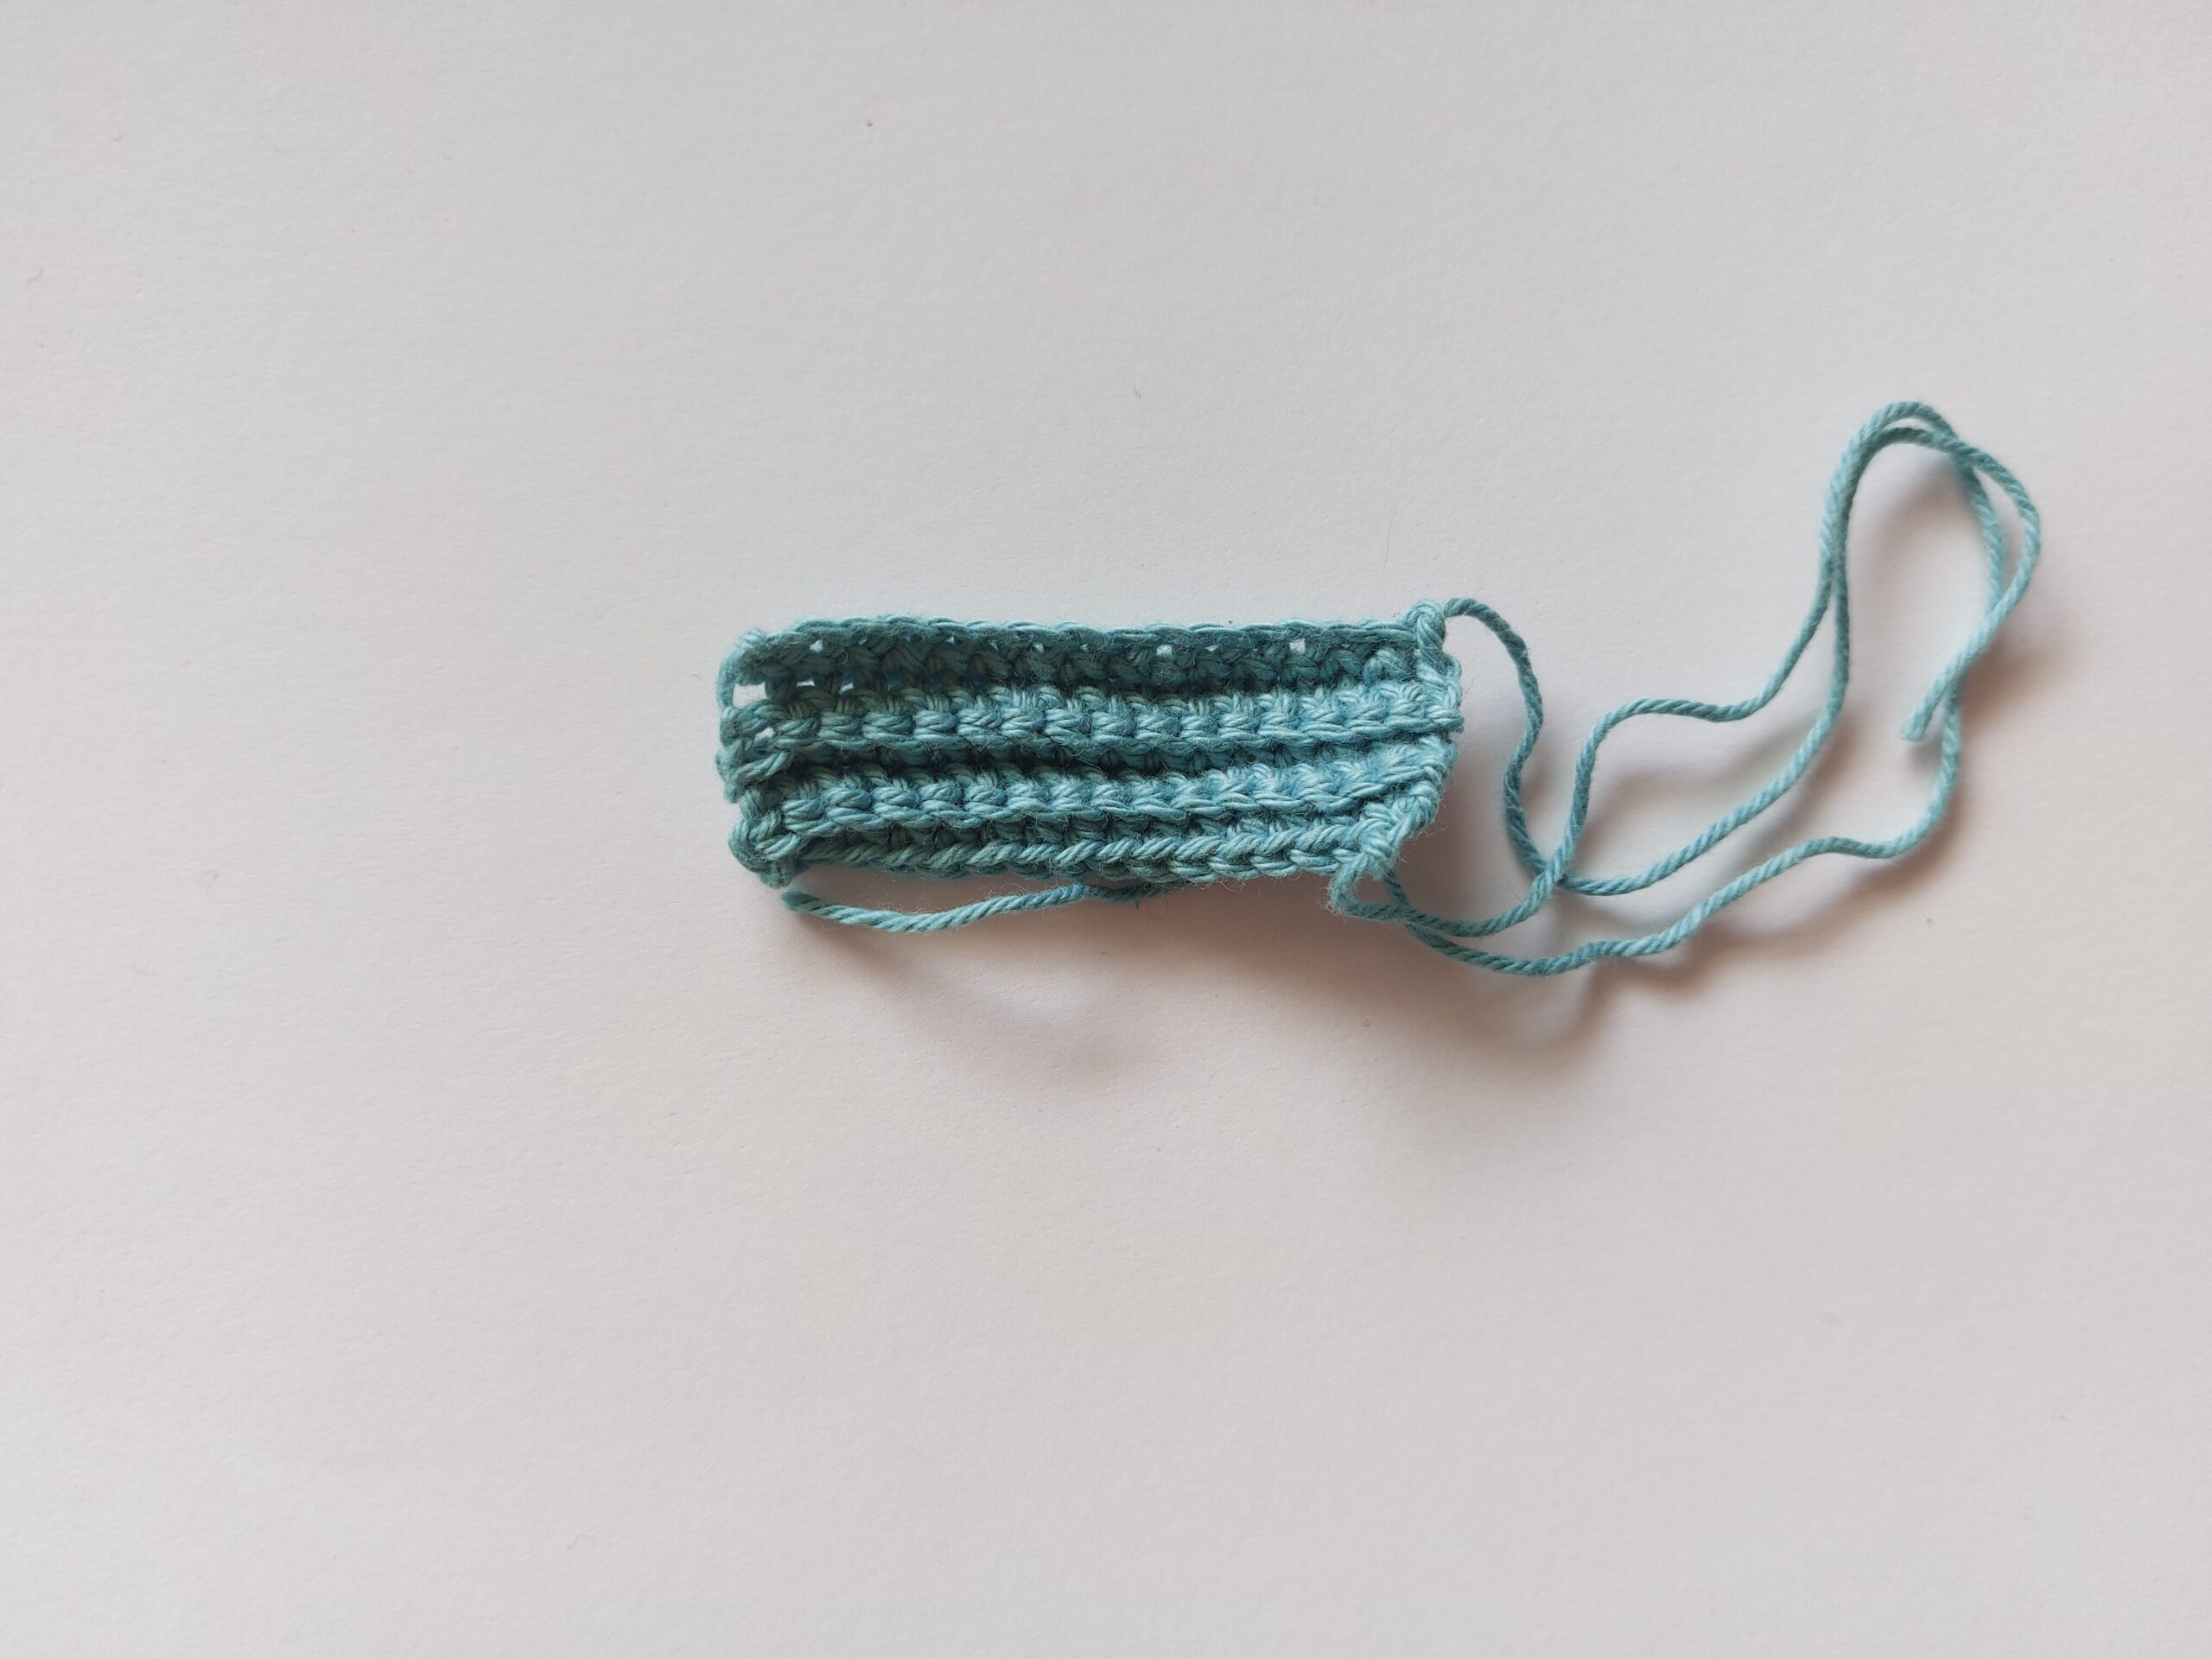
Scarf
chain 17
1.16sc, chain 1 and turn the scarf, chain 1 after each round
2-5.16sc BLO
Remember to leave a long thread – this will help us attach the scarf to the body.
Bag
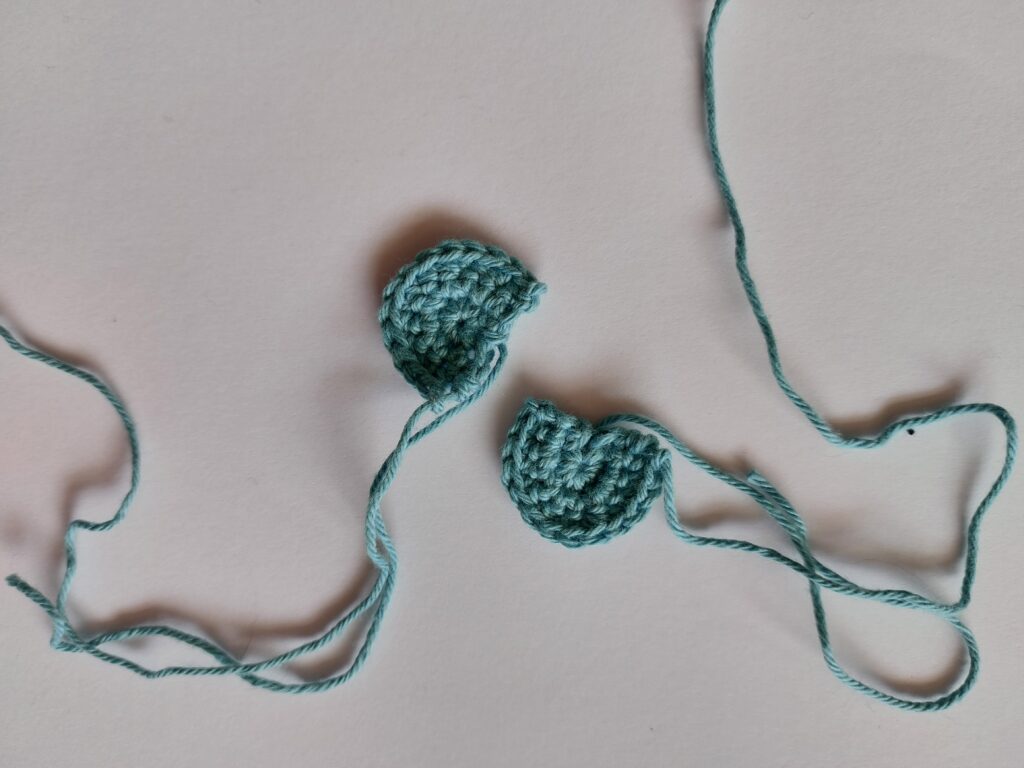
In blue, make 2
Chain 3
1.sc, 6sc in the same stitch, sc
2.sc, (sc,inc)x3, sc
3.sc, (2sc,inc)x3, sc
Weave in one yarn end per bag side (the one in the middle). Stitch together with one of the other side yarn end. I weave throught only the front loops for a neater seam. Make a strap with the other yarn end, we will wrap it around the body.
Dodaj komentarz